

A lovely friend of ours is being blessed with her second pregnancy (praise the Lord for answered prayers!). They have an incredibly adorable little boy already and, of course, were probably hoping for a little girl to dress up and love on. Well, it turns out they are having another little boy... and a little girl! That's right, twins. We are absolutely overjoyed for this incredible, Godly family so when she asked me to help her out with some little girl DIY projects I didn't hesitate to say yes.
This is a tutorial for how to make DIY baby leggins. I promise you, this is SO easy, even a beginner could whip these things out in under 45 minutes. Here's what you'll need:
- Teen/Women's knee high socks (I found mine at Walmart, but they aren't always in stock. If you know of a great online place please let me know in the comments section below.)
- Scissors
- Sewing machine
- Thread
- Straight pins


Seriously, that's all it takes! Alright, hang with me as I attempt to break down the process. :)
Step 1: Cut off the feet of both socks where the ankle would be. Make sure that you do them exactly at the same point or you'll have one legging that is longer than the other.


Step 2: Cut out the middle section of the foot (mine were exactly 3 inches). This is going to act as the hem at the base of the leggins.
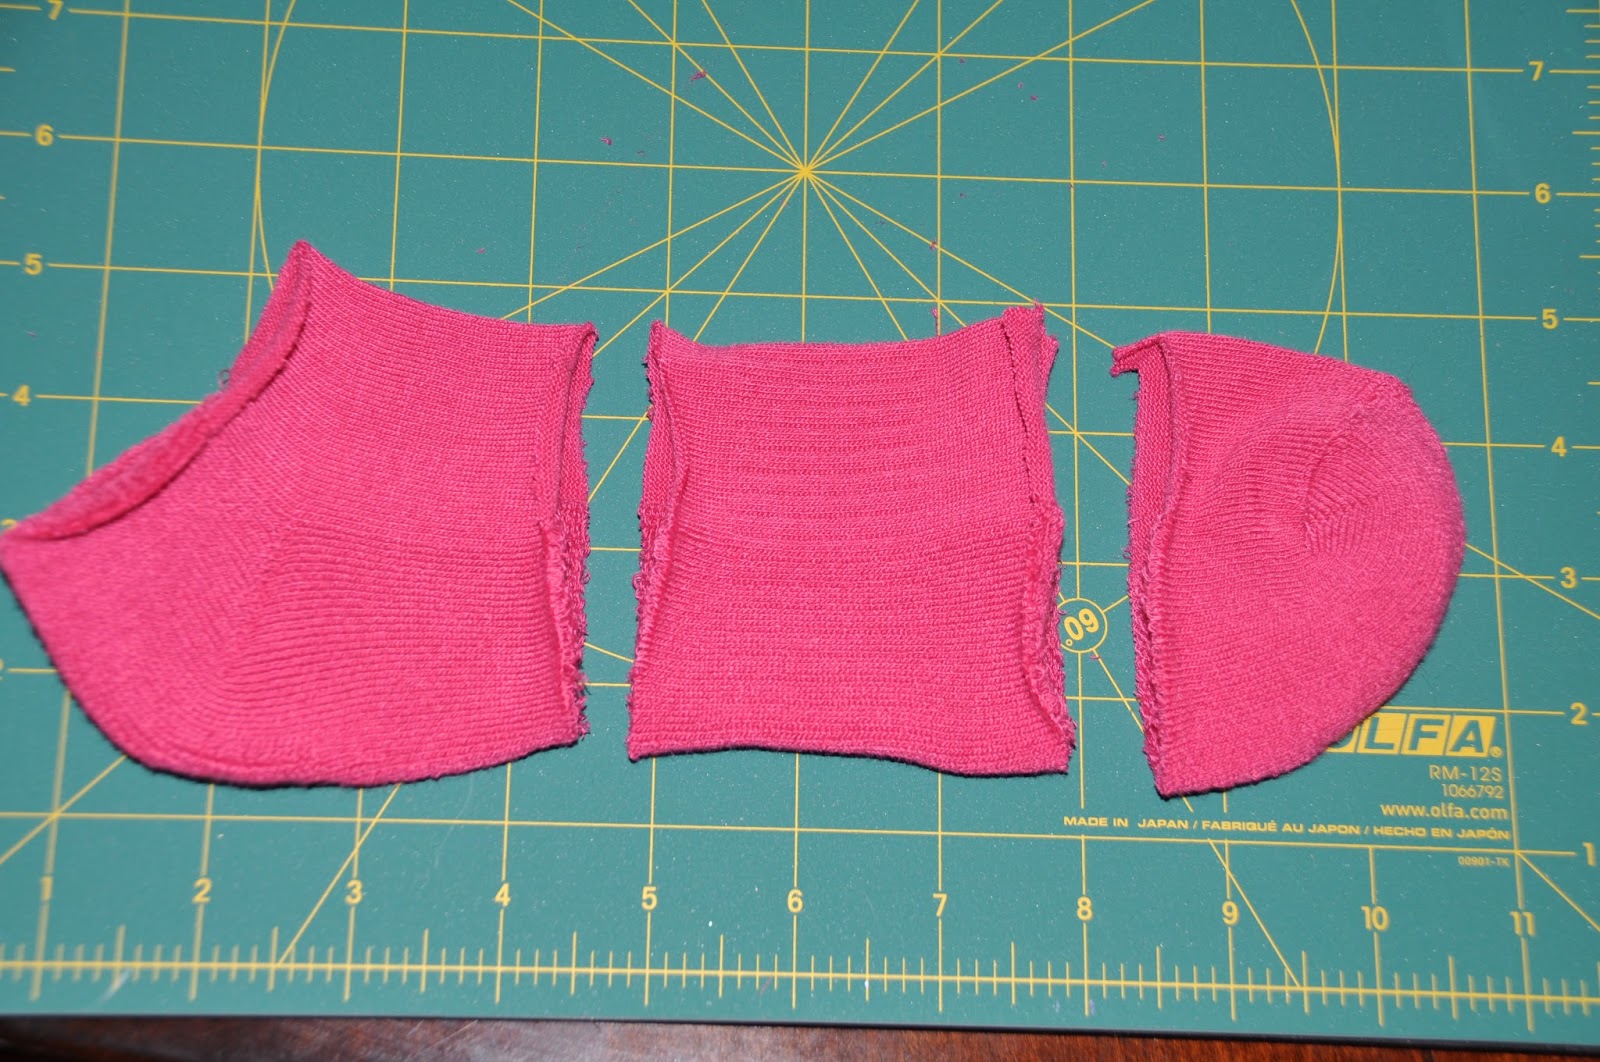

Step 3: Fold the pieces you just cut out so that the insides are touching and both raw edges are together. The good side of the material should be showing.

Step 4: Place the raw edges in line with the raw edge of the top of the sock. This is where it gets kinda tricky. Make sure that the upper portion of the sock is right side out and the small hem portion is also right side out. I like to think of the hem portion as being a mouth that swallows up the tube of the upper portion... That probably just confused you more... If it did, sorry!


Step 5: Once the raw edges are all aligned (there should be 3 layers of material all along the edge of the sock opening) pin the material in place. I skipped this step once and never made that mistake again. There are so many layers that it's difficult to make sure you're not leaving one out, if you do the leggins will have a gaping hole where the hem should be attached!
Step 6: Sew! I used a straight stitch. Seriously it's so easy, just line the foot up with the edge of the fabric and sew around the entire opening once. Make sure you're sewing around the edges and not through the entire sock from one side to the other or you'll end up with no opening.


Step 7: Trim the excess material. If you skip this step your leggins will have a bulky look to them at the bottom, and being the perfectionist that I am, that just can't happen!

Step 8: Pull the hem down and wa-lah!!! You have a legging. Repeat steps 1-8 for the second sock for a complete pair.

Now, if you're anything like me, a

{Here are the directions for a matching rosette headband.}
Step 1: Cut the toe portion of the sock scraps around in a circle using the edge as a guide.


Step 2. Tie a knot at the tip of the fabric.

Step 3. Using the knot as a starting point, twist the fabric around and around the center. You can use fabric glue to keep the material from slipping, but I'm impatient so, of course, I used hot glue! (Warning, if you go the hot glue route, you will most certainly be playing hot potato with your fabric as the glue is, well, hot...)

Step 4: Keep going until all you have left is the last portion of material. Take a little dab of glue to the bottom of the flower and secure the material over the entire base.


Now you have a fabric flower! Add some silk rosettes, beads and some elastic and there ya have it. An absolutely adorable, waste-not, matchy-matchy headband!
I hope this wasn't too difficult to follow. If you have any questions or comments please be sure to leave them below and I'll be sure to do my best to answer them.
{Oh... And once you've finished, you'll of course have to do an impromptu photo sesh with your adorable 12 month old. That might just be me though. :) Happy crafting!!}


Thanks nikki!!!!!! Super sweet post!!
ReplyDelete